29'th July 2006.
In
part one I made some test laminates
which were all flat. Today I moved a step closer to something
like my next 'real' project - which is a payload module for my
paraplane. This will probably be moulded around a hand carved wax
block which will be melted out once the resin has cured.
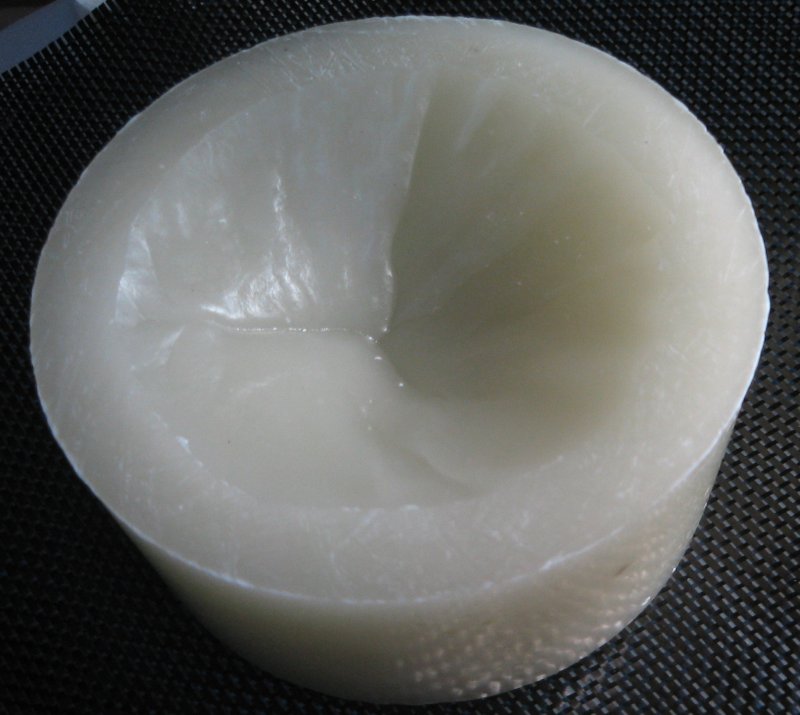
The plug was wax cast in yoghurt container. I wanted a little bit of a lip on the top so I made the outer top surface flat using a cheese grater. I also rounded the bottom edge.
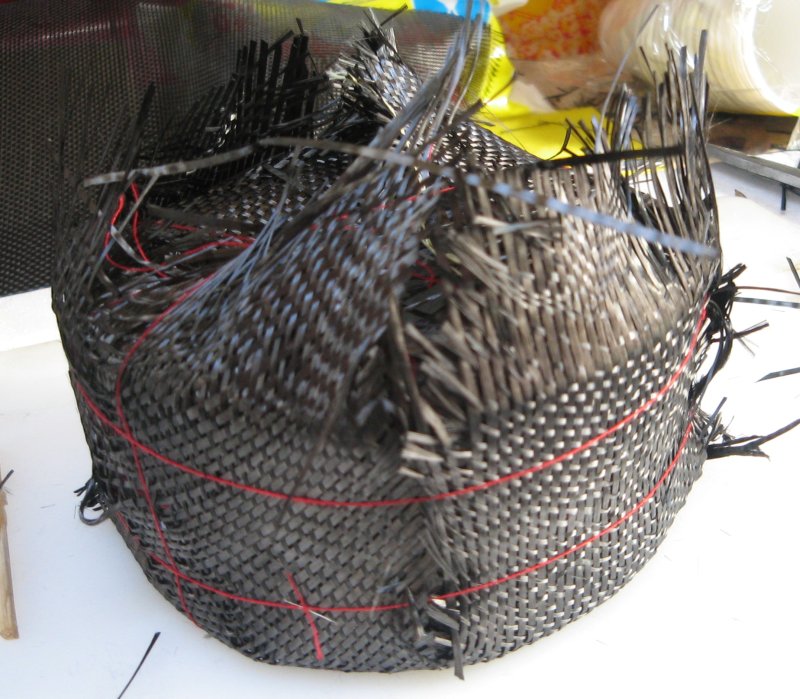
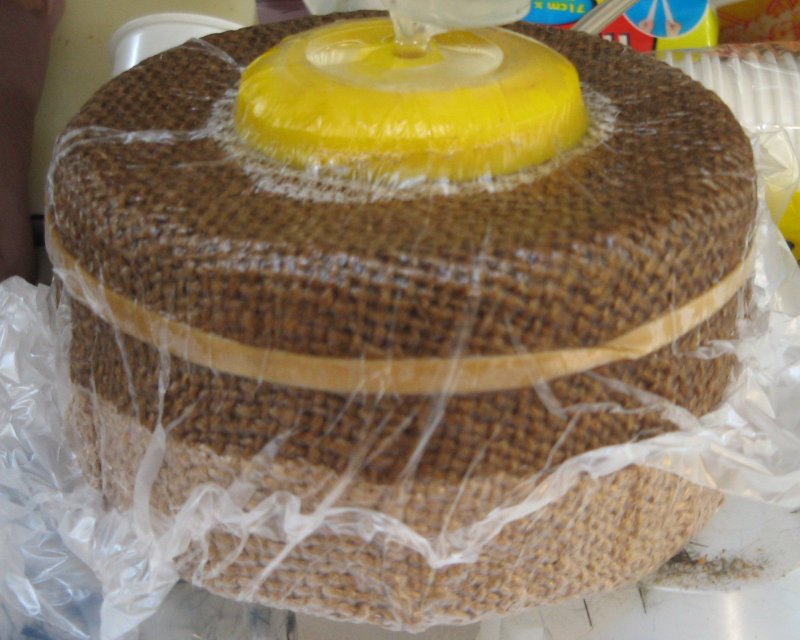
It took a long time to wrap it in carbon. There are four layers each loosely tied with red cotton to keep it in place.
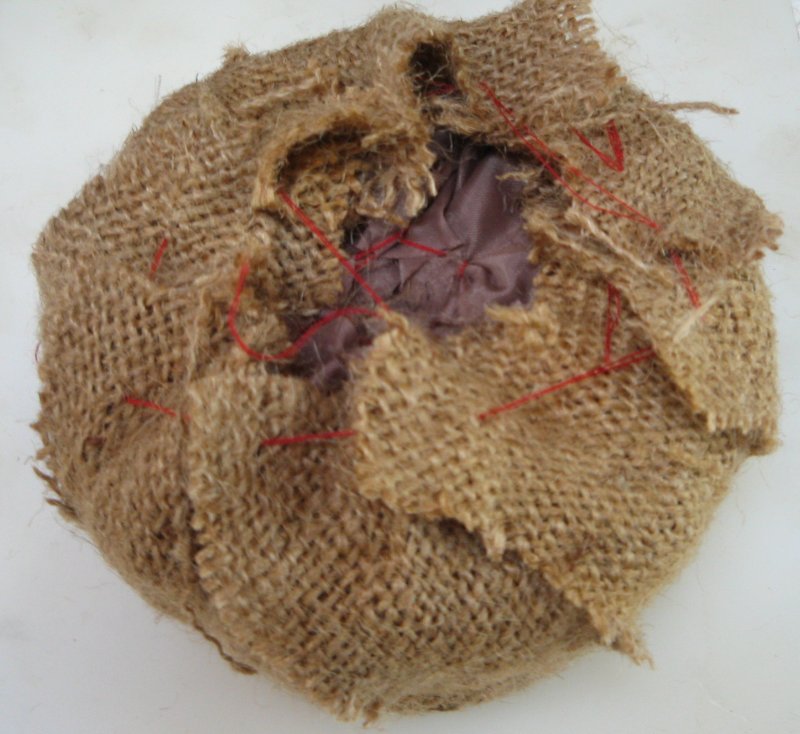
Then a layer of peel ply was added followed by the hessian.
Under vacuum it holds it's shape pretty well. This is upside down compared to the previous photo.
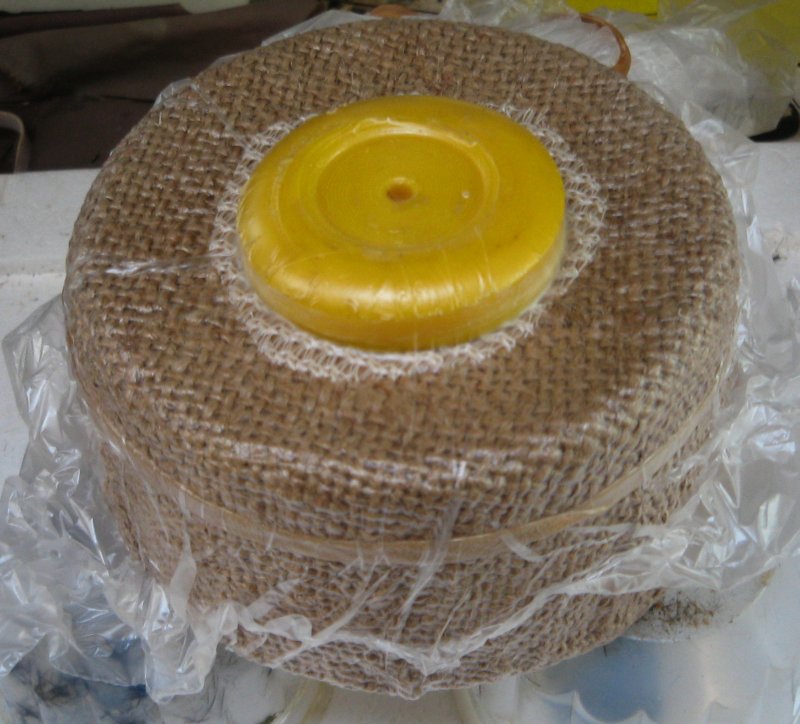
I infused what was the “bottom” because the “top” has overlapped layers of hessian which would soak up a lot of resin. If there had been more of a taper I would have aimed to infuse the “fat” end. As usual - initial infusion was rapid and slowing to a crawl towards to end. It only took a bit over a minute for the resin to reach the first edge but it took about thirty minutes to go all the way around.

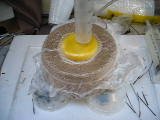
Once again vacuum is applied to the infusion port at the end. Sixty ml of resin was used.
Here's a video clip of the first minute (10.25 meg). You can see me fill the syringe with resin and the hessian begin to darken a few second later.
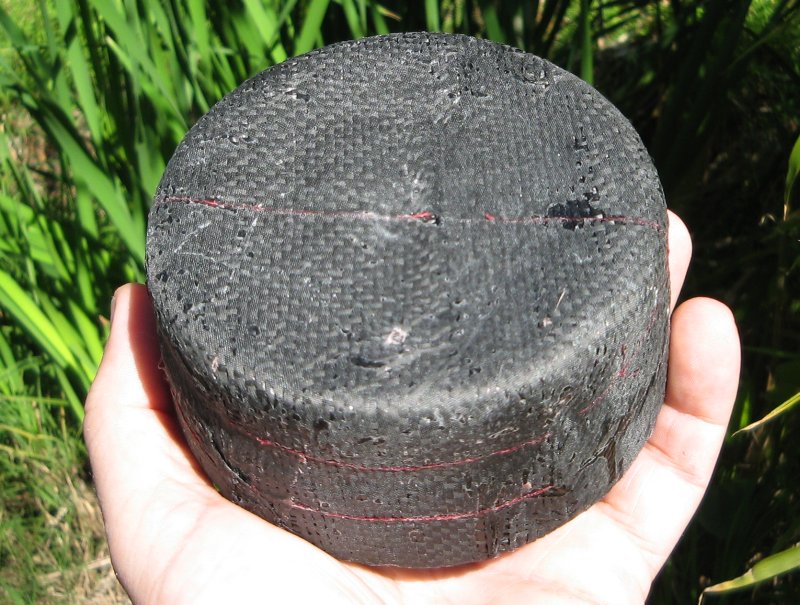
Cosmetically the outside of the piece is not perfect but it appears to be extremely strong and well bounded. It weighs in at thirty grams. The inside look quite good and some of the fine details from the original plastic tub are visible. I think this is close to prefect for the model I'm making and I could even reduce the thickness by a layer. The laminate does have pinholes. The big problem was removing the hessian from the piece. I will try to improve this but spending a few hours prising it off is not out of the question. The model is larger than this sample and that will make it easy to make. However it is more “boat” shaped and controlling the resin flow is more complicated.