Enough testing. It's time to make
something useful.
On this page I show the fabrication of a
gondola payload module for my
model paraplane.
Click through to the second
page to see the finished item.
This is specifically
designed to accommodate a canon ixus-zoom digital camera for
aerial photography.

Once again a wax block was used. It was squared up using a router bit in a cheap drill press.
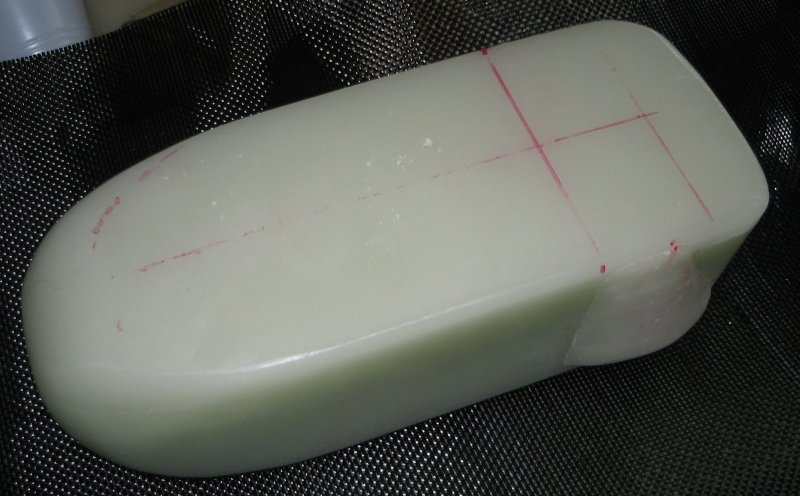
The block was mainly shaped using a
cheap electric iron which I bought for the purpose ($12). I also
used a belt sander and solvent wipe to smooth it off.
At the
back I glued on (CA) some wax fillets I made in order to fatten
the part where the camera goes.
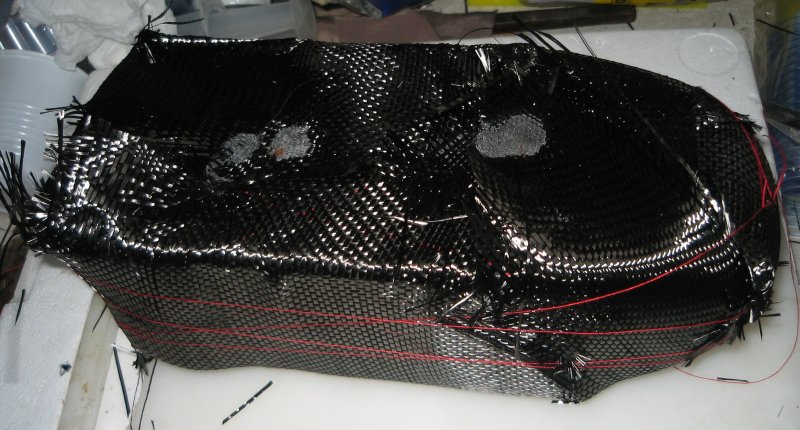
Layers of CF cloth were wrapped around and held in place with cotton and glue. The glue was in the region which would be removed afterwards.
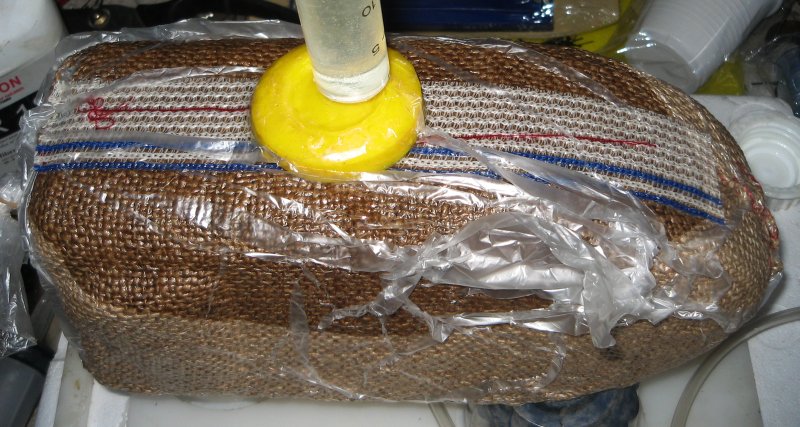
Layers of peel ply, hessian and shade
cloth were added as in the previous tests. I probably should have
added some enka-fusion as well.
I also added some kevlar
string between the ply and hessian in the hope that it would make
it easy to remove the hessian – it didn't.
Infusion and
vacuum ports were added as before. Vacuum was applied and resin
infused but things went wrong.
After a few minutes it became
apparent that the resin was travelling down the sides much faster
than it was moving into the ends. When it was obvious this wasn't
going to work I had to intervene. The intervention was to force a
lot of resin into the infusion port and then massage the blister
into place – this worked.
There were two other problems
both because of the fillets. The first problem was the CF didn't
conform to the shape perfectly and left a void under the fibre.
The second problem was there was a void between the fillet and
the rest of the block. These voids filled with resin robbing the
general area of resin and slowing down the infusion in the
region. The result was the resin flow stop a little short of
where I wanted and also I had to grind off the excess resin when
it had set.
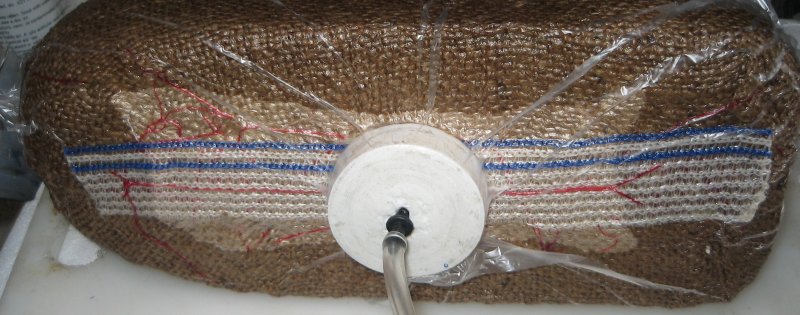
In the above photo you can see the resin nearing the vacuum port but this is as far as it got when the resin gelled and stopped.
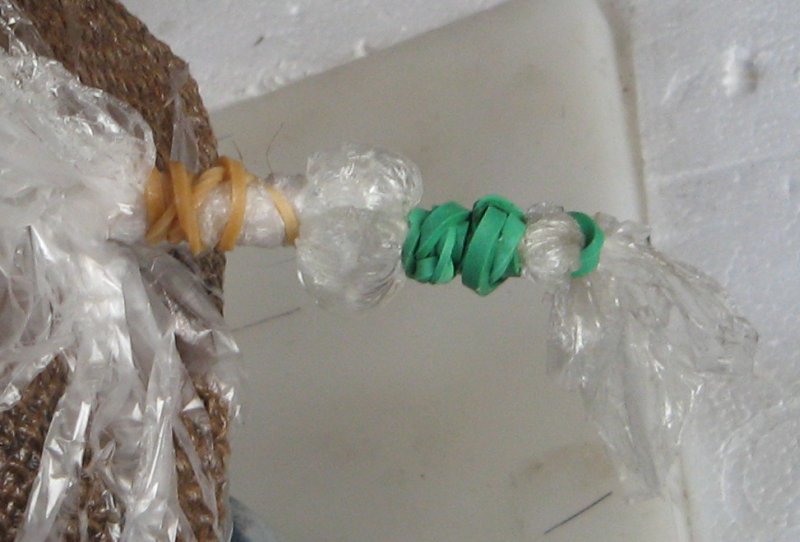
To avoided air leaking in through the mouth of the plastic bag I sealed it in two places with rubber bands and filled the “bubble” in between with resin.
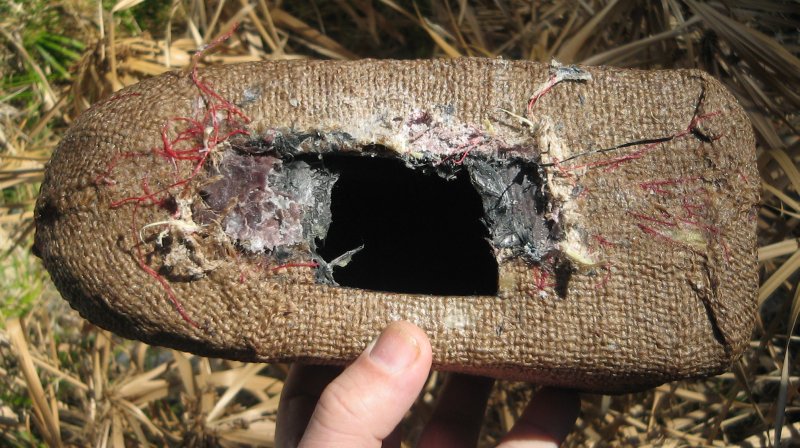
This photo is of the shell after the resin had cured and the wax was melted out. The hessian was very difficult to remove and it took hours work with a cutting disk and chisel to get it off.